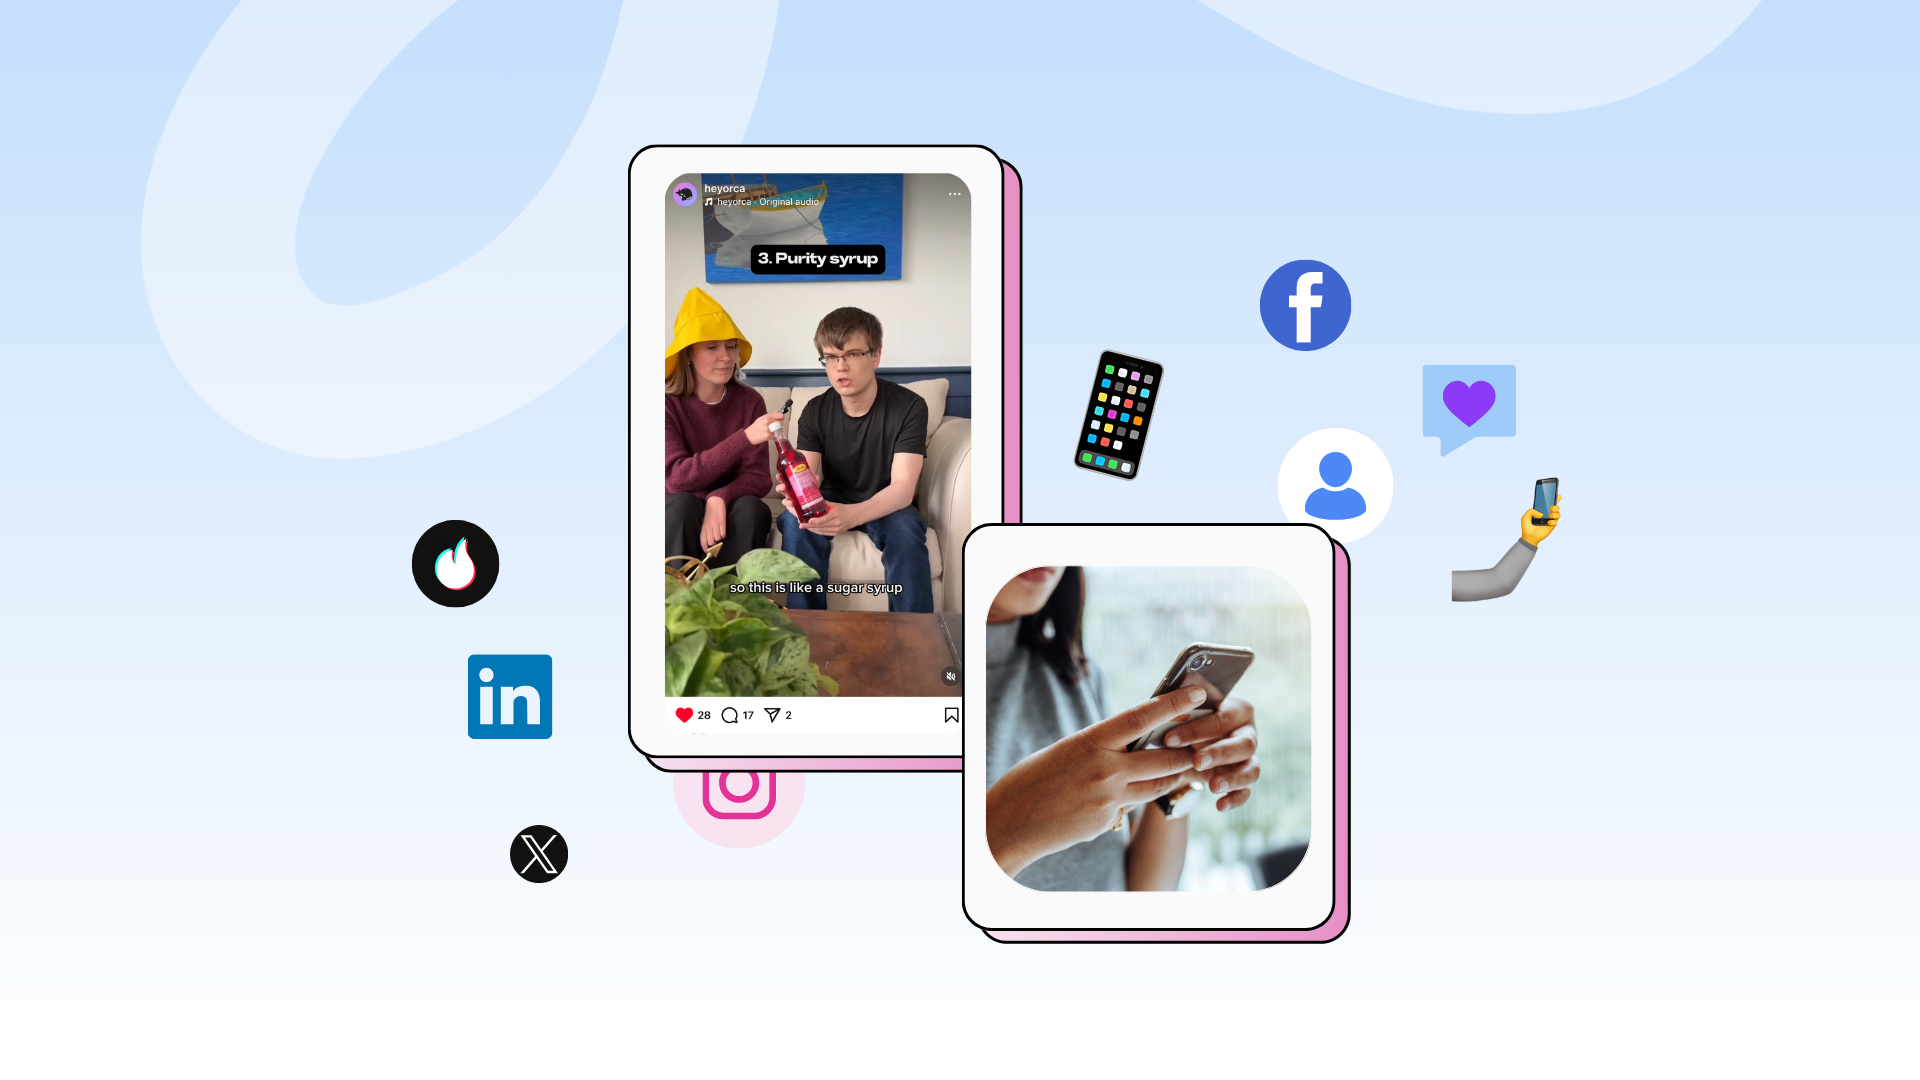
New Feature: Save Time Planning Posts with Default Posting Times in HeyOrca

Save even more time planning posts in HeyOrca, with the Default Posting Times feature! This new feature lets you create a custom list of default posting times for every social account connected to each of your calendars. 🙌
HeyOrca's mission is to help you take back your day and fight burnout! We are committed to developing new features that help you save time managing social media and collaborating with clients.
Based on the feedback we've received from our customers, we've developed and released Default Posting Times to reduce the number of clicks it takes to plan social posts and save you even more time. 🕒✅

HeyOrca's Default Posting Times feature lets you:
- Set up custom default posting times for every social channel on each of your calendars
- Quickly choose from a list of preset posting times when scheduling a post in HeyOrca
- Provide content creators with standardized posting times
How to Get Started with Default Posting Times
Getting started with Default Posting Times is fast and easy!
Check out the video demonstration or keep scrolling to read the step-by-step instructions to see how you can get started with Default Posting Times.:
https://youtu.be/TAWvo6hnfq4
Setup Default Posting Times
- Login to your HeyOrca account > click into the Calendar you'd like to update > click the settings icon (gear) on the menu to your left
- Note: setting up Default Posting Times requires Internal or External Administrative user permissions.
- Click on the "Default Posting Times" tab on the settings page
- Select the Social Account you'd like to assign default posting times to from the dropdown list
- Choose the day of the week that you'd like the default time to appear for. You can choose from:
- Everyday
- Weekdays
- Weekends
- Individual days of the week
- Select the time that you'd like to include
- Click "add post time"
The default posting times you set will now automatically appear when someone is planning a post based on the social networks and days you've selected. If you've added multiple preset post times to a specific day on your social channel, the default post time will display the first result in chronological priority.
How to Use Default Posting Times
- Login to your HeyOrca account > select the Calendar you've added Default Posting Times to
- From your calendar, hover over the date you'd like to create a post for and create a new post
- Select the social network you'd like to schedule a post on
- Your preset default posting time will automatically display
- If you've included multiple default posting times, the earliest chronological value will display first.
- Your additional value(s) will appear in the dropdown menu
- If you'd like to select a custom time, you can click on the dropdown menu and select "Custom Date & Time" or hit the "create post" button then edit the time from the visual post editor
This is just one of many improvements that we are making to help you get your job done faster and #takebackyourday! 🥳
Want a hand with implementing Default Posting Times in your HeyOrca Account? Feel free to book a free, 1-on-1 training session.
Not currently a HeyOrca user? Try HeyOrca free for 14 days and see how you can streamline your social media publishing and client approval process.

Still paying per seat for your social media tool? With HeyOrca, you get unlimited users – so your whole team (and clients!!) can collaborate without the extra cost. Plan, approve, and schedule your next post now.
Every member of your team deserves a seat at the table. That's why every HeyOrca plan comes with unlimited users. Choose the social media scheduler that helps you create, collaborate, and build community – without worrying about extra fees. Start your free trial.
Build stronger social media communities. HeyOrca brings your whole team together – with unlimited users!! – to plan, approve, and schedule content in one place. See it come together in minutes.
Looking for a social media tool built for teams and agencies? Plan, approve, and schedule your next post in minutes with HeyOrca – no credit card required.


.png)


%20(2).png)
%20(1).png)